与 UIKit 框架集成
Compose Multiplatform 与 UIKit 框架具有互操作性。 您既可以将 Compose Multiplatform 嵌入 UIKit 应用程序中,也可以在 Compose Multiplatform 中嵌入原生的 UIKit 组件。本页面提供了在 UIKit 应用程序中使用 Compose Multiplatform 以及在 Compose Multiplatform UI 中嵌入 UIKit 组件的示例。
要了解 SwiftUI 的互操作性,请参阅与 SwiftUI 框架集成文章。
在 UIKit 应用程序中使用 Compose Multiplatform
要在 UIKit 应用程序中使用 Compose Multiplatform,请将您的 Compose Multiplatform 代码添加到任何容器视图控制器中。 以下示例在 UITabBarController 类中使用了 Compose Multiplatform:
let composeViewController = Main_iosKt.ComposeOnly()
composeViewController.title = "Compose Multiplatform inside UIKit"
let anotherViewController = UIKitViewController()
anotherViewController.title = "UIKit"
// 设置 UITabBarController
let tabBarController = UITabBarController()
tabBarController.viewControllers = [
// 将创建的 ViewControllers 包装在 UINavigationController 中以设置标题
UINavigationController(rootViewController: composeViewController),
UINavigationController(rootViewController: anotherViewController)
]
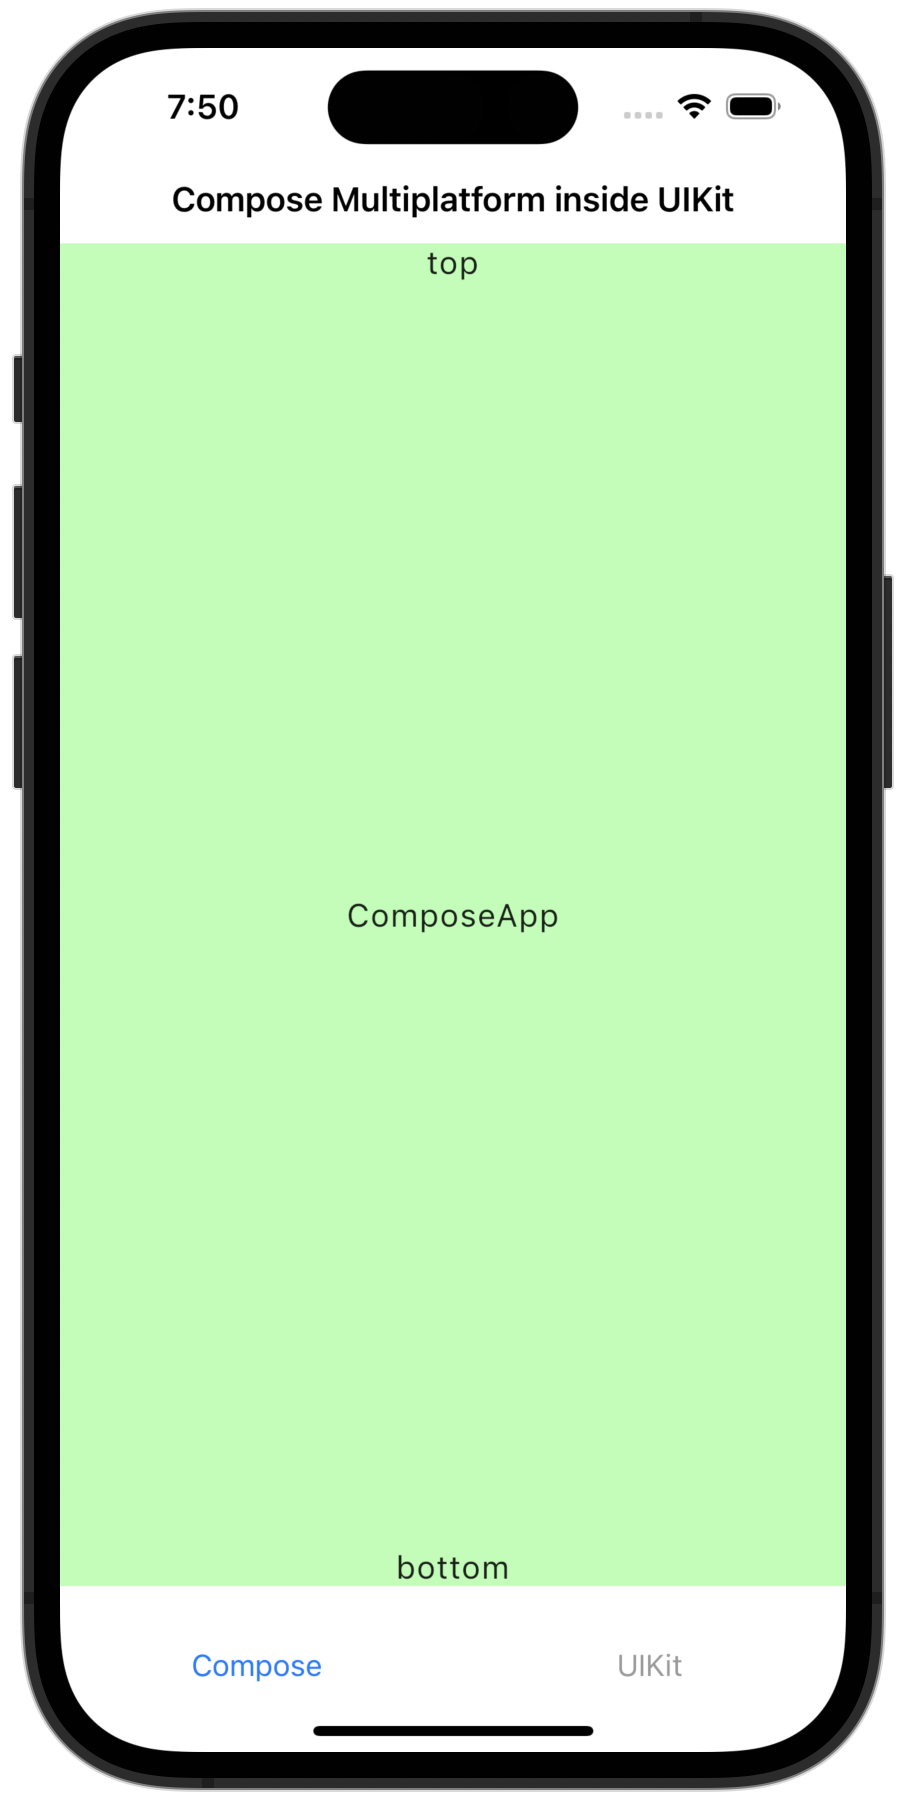
tabBarController.tabBar.items?[0].title = "Compose"
tabBarController.tabBar.items?[1].title = "UIKit"使用这段代码后,您的应用程序应该如下所示:
Compose Multiplatform 渲染需要显式启用高刷新率: 在应用的
Info.plist文件中添加CADisableMinimumFrameDurationOnPhone键。 如果不添加该键,应用将在运行时崩溃。
在示例项目中探索此代码。
在 Compose Multiplatform 中使用 UIKit
要在 Compose Multiplatform 中使用 UIKit 元素,请将您想要使用的 UIKit 元素添加到 Compose Multiplatform 的 UIKitView 中。您可以完全使用 Kotlin 编写此代码,也可以配合 Swift 使用。
地图视图
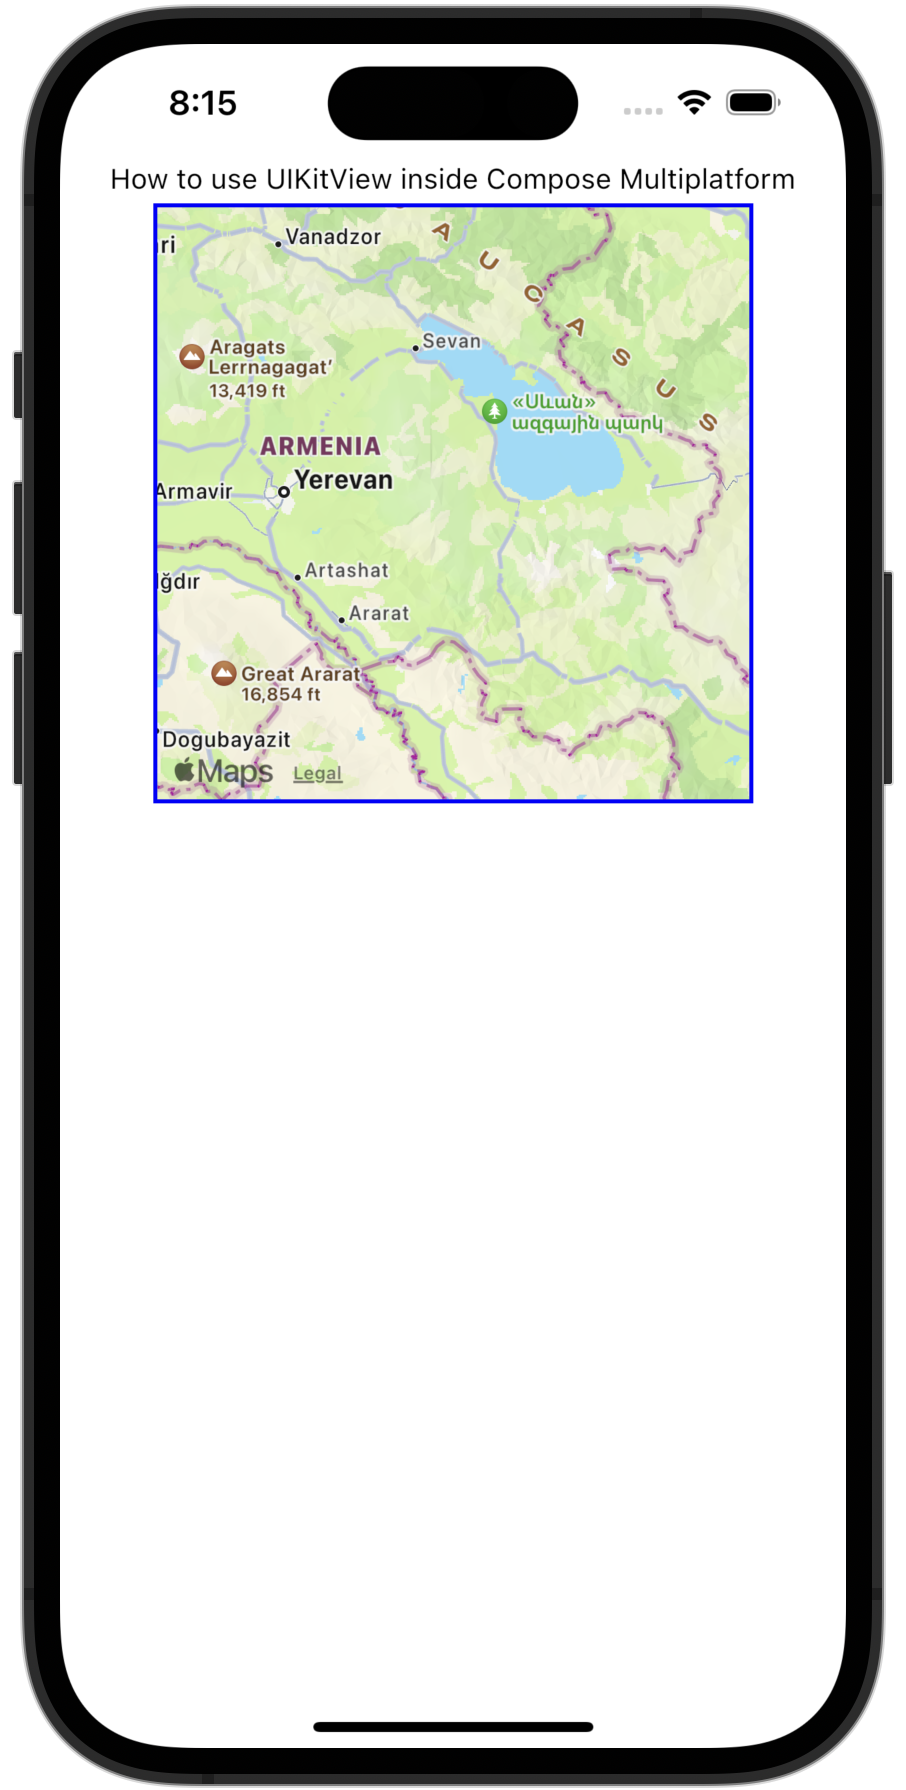
您可以使用 UIKit 的 MKMapView 组件在 Compose Multiplatform 中实现地图视图。通过使用 Compose Multiplatform 的 Modifier.size() 或 Modifier.fillMaxSize() 函数来设置组件大小:
UIKitView(
    factory = { MKMapView() },
    modifier = Modifier.size(300.dp),
)
使用这段代码后,您的应用程序应该如下所示:
现在,让我们看一个进阶示例。这段代码在 Compose Multiplatform 中封装了 UIKit 的 UITextField:
@OptIn(ExperimentalForeignApi::class)
@Composable
fun UseUITextField(modifier: Modifier = Modifier) {
    // 在 Compose 中持有文本状态
    var message by remember { mutableStateOf("Hello, World!") }

    UIKitView(
        factory = {
            // 创建一个与 Compose 状态集成的 UITextField
            val textField = object : UITextField(CGRectMake(0.0, 0.0, 0.0, 0.0)) {
                @ObjCAction
                fun editingChanged() {
                    // 当 UITextField 中的文本改变时更新 Compose 状态
                    message = text ?: ""
                }
            }
            // 为 UITextField 内的文本更改添加侦听器
            textField.addTarget(
                target = textField,
                action = NSSelectorFromString(textField::editingChanged.name),
                forControlEvents = UIControlEventEditingChanged
            )
            textField
        },
        modifier = modifier.fillMaxWidth().height(30.dp),
        update = { textField ->
            // 从 Compose 状态更新 UITextField 文本
            textField.text = message
        }
    )
}factory参数包含editingChanged()函数和textField.addTarget()侦听器,用于检测UITextField的任何更改。editingChanged()函数使用了@ObjCAction注解,以便它可以与 Objective-C 代码互操作。addTarget()函数的action参数传递了editingChanged()函数的名称,从而响应UIControlEventEditingChanged事件并触发该函数。- 当可观察的
message状态值发生变化时,会调用UIKitView()的update参数。 - 该函数更新
UITextField的text属性,以便用户看到更新后的值。
在我们的示例项目中探索此示例的代码。
相机视图
您可以使用 UIKit 的 AVCaptureSession 和 AVCaptureVideoPreviewLayer 组件在 Compose Multiplatform 中实现相机视图。
这允许您的应用程序访问设备的相机并显示实时预览。
这是一个如何实现基础相机视图的示例:
UIKitView(
    factory = {
        val session = AVCaptureSession().apply {
            val device = AVCaptureDevice.defaultDeviceWithMediaType(AVMediaTypeVideo)!!
            val input = AVCaptureDeviceInput.deviceInputWithDevice(device, null)!!
            addInput(input)
        }
        val previewLayer = AVCaptureVideoPreviewLayer(session)
        session.startRunning()

        object : UIView() {
            override fun layoutSubviews() {
                super.layoutSubviews()
                previewLayer.frame = bounds
            }
        }.apply {
            layer.addSublayer(previewLayer)
        }
    },
    modifier = Modifier.size(300.dp)
)
现在,让我们看一个进阶示例。这段代码捕获照片,附加 GPS 元数据,并使用原生 UIView 显示实时预览:
@OptIn(ExperimentalForeignApi::class)
@Composable
fun RealDeviceCamera(
    camera: AVCaptureDevice,
    onCapture: (picture: PictureData.Camera, image: PlatformStorableImage) -> Unit
) {
    // 初始化用于拍照的 AVCapturePhotoOutput
    val capturePhotoOutput = remember { AVCapturePhotoOutput() }
    // ...
    // 定义捕获回调的代理:处理图像数据、附加 GPS、设置 onCapture
    val photoCaptureDelegate = remember {
        object : NSObject(), AVCapturePhotoCaptureDelegateProtocol {
            override fun captureOutput(
                output: AVCapturePhotoOutput,
                didFinishProcessingPhoto: AVCapturePhoto,
                error: NSError?
            ) {
                val photoData = didFinishProcessingPhoto.fileDataRepresentation()
                if (photoData != null) {
                    val gps = locationManager.location?.toGps() ?: GpsPosition(0.0, 0.0)
                    val uiImage = UIImage(photoData)
                    onCapture(
                        createCameraPictureData(
                            name = nameAndDescription.name,
                            description = nameAndDescription.description,
                            gps = gps
                        ),
                        IosStorableImage(uiImage)
                    )
                }
                capturePhotoStarted = false
            }
        }
    }
    // ...
    // 为拍照设置 AVCaptureSession
    val captureSession: AVCaptureSession = remember {
        AVCaptureSession().also { captureSession ->
            captureSession.sessionPreset = AVCaptureSessionPresetPhoto
            val captureDeviceInput: AVCaptureDeviceInput =
                deviceInputWithDevice(device = camera, error = null)!!
            captureSession.addInput(captureDeviceInput)
            captureSession.addOutput(capturePhotoOutput)
        }
    }
    // 为实时相机预览设置 AVCaptureVideoPreviewLayer
    val cameraPreviewLayer = remember {
        AVCaptureVideoPreviewLayer(session = captureSession)
    }
    // ...
    // 创建一个带有原生相机预览层的原生 UIView
    UIKitView(
        modifier = Modifier.fillMaxSize().background(Color.Black),
        factory = {
            val cameraContainer = object: UIView(frame = CGRectZero.readValue()) {
                override fun layoutSubviews() {
                    CATransaction.begin()
                    CATransaction.setValue(true, kCATransactionDisableActions)
                    layer.setFrame(frame)
                    cameraPreviewLayer.setFrame(frame)
                    CATransaction.commit()
                }
            }
            cameraContainer.layer.addSublayer(cameraPreviewLayer)
            cameraPreviewLayer.videoGravity = AVLayerVideoGravityResizeAspectFill
            captureSession.startRunning()
            cameraContainer
        },
    )
    // ...
    // 创建一个 Compose 按钮,按下时执行 capturePhotoWithSettings 回调
    CircularButton(
        imageVector = IconPhotoCamera,
        modifier = Modifier.align(Alignment.BottomCenter).padding(36.dp),
        enabled = !capturePhotoStarted,
    ) {
        capturePhotoStarted = true
        val photoSettings = AVCapturePhotoSettings.photoSettingsWithFormat(
            format = mapOf(AVVideoCodecKey to AVVideoCodecTypeJPEG)
        )
        if (camera.position == AVCaptureDevicePositionFront) {
            capturePhotoOutput.connectionWithMediaType(AVMediaTypeVideo)
                ?.automaticallyAdjustsVideoMirroring = false
            capturePhotoOutput.connectionWithMediaType(AVMediaTypeVideo)
                ?.videoMirrored = true
        }
        capturePhotoOutput.capturePhotoWithSettings(
            settings = photoSettings,
            delegate = photoCaptureDelegate
        )
    }
}
"}
RealDeviceCamera 可组合项执行以下任务:
- 使用
AVCaptureSession和AVCaptureVideoPreviewLayer设置原生相机预览。 - 创建一个
UIKitView来承载自定义的UIView子类,该子类管理布局更新并嵌入预览层。 - 初始化
AVCapturePhotoOutput并配置一个代理来处理照片捕获。 - 使用
CLLocationManager(通过locationManager)在捕获瞬间检索 GPS 坐标。 - 将捕获的图像转换为
UIImage,将其包装为PlatformStorableImage,并通过onCapture提供名称、描述和 GPS 位置等元数据。 - 显示一个圆形的 Compose 按钮用于触发捕获。
- 在使用前置摄像头时应用镜像设置,以匹配自然的自拍效果。
- 使用
CATransaction在layoutSubviews()中动态更新预览布局,以避免动画。
要在真实设备上进行测试,您需要在应用的
Info.plist文件中添加NSCameraUsageDescription键。如果没有它,应用在运行时将崩溃。
在 ImageViewer 示例项目中探索此示例的完整代码。
Web 视图
您可以使用 UIKit 的 WKWebView 组件在 Compose Multiplatform 中实现 Web 视图。这允许您的应用程序在 UI 中显示 Web 内容并与之交互。通过使用 Compose Multiplatform 的 Modifier.size() 或 Modifier.fillMaxSize() 函数来设置组件大小:
UIKitView(
    factory = {
        WKWebView().apply {
            loadRequest(NSURLRequest(URL = NSURL(string = "https://www.jetbrains.com")))
        }
    },
    modifier = Modifier.size(300.dp)
)
现在,让我们看一个进阶示例。这段代码为 Web 视图配置了导航代理,并允许 Kotlin 与 JavaScript 之间进行通信:
@Composable
fun WebViewWithDelegate(
    modifier: Modifier = Modifier,
    initialUrl: String = "https://www.jetbrains.com",
    onNavigationChange: (String) -> Unit = {}
) {
    // 创建一个代理以侦听导航事件
    val delegate = remember {
        object : NSObject(), WKNavigationDelegateProtocol {
            override fun webView(
                webView: WKWebView,
                didFinishNavigation: WKNavigation?
            ) {
                // 导航完成后更新当前 URL
                onNavigationChange(webView.URL?.absoluteString ?: "")
            }
        }
    }
    UIKitView(
        modifier = modifier,
        factory = {
            // 实例化 WKWebView并设置其代理
            val webView = WKWebView().apply {
                navigationDelegate = delegate
                loadRequest(NSURLRequest(uRL = NSURL(string = initialUrl)))
            }
            webView
        },
        update = { webView ->
            // 如果 URL 更改,则重新加载网页
            if (webView.URL?.absoluteString != initialUrl) {
                webView.loadRequest(NSURLRequest(uRL = NSURL(string = initialUrl)))
            }
        }
    )
}
WebViewWithDelegate 可组合项执行以下任务:
- 创建一个实现
WKNavigationDelegateProtocol接口的稳定代理对象。使用 Compose 的remember跨重组记住该对象。 - 实例化一个
WKWebView,使用UIKitView嵌入它,并配置它以分配记住的代理。 - 加载由
initialUrl参数提供的初始网页。 - 通过代理观察导航更改,并通过
onNavigationChange回调传递当前 URL。 - 使用
update参数观察请求 URL 的更改,并相应地重新加载网页。
下一步
您还可以探索 Compose Multiplatform 与 SwiftUI 框架集成的方式。