SwiftUI 프레임워크와의 통합
Compose Multiplatform은 SwiftUI 프레임워크와 상호 운용이 가능합니다. SwiftUI 애플리케이션 내에 Compose Multiplatform을 임베드할 수 있을 뿐만 아니라, Compose Multiplatform UI 내에 네이티브 SwiftUI 컴포넌트를 임베드할 수도 있습니다. 이 페이지에서는 SwiftUI 내부에서 Compose Multiplatform을 사용하는 방법과 Compose Multiplatform 앱 내부에 SwiftUI를 임베드하는 방법 모두에 대한 예제를 제공합니다.
UIKit 상호 운용성에 대해 알아보려면 UIKit 프레임워크와의 통합 문서를 참조하세요.
SwiftUI 애플리케이션 내에서 Compose Multiplatform 사용하기
SwiftUI 애플리케이션 내에서 Compose Multiplatform을 사용하려면, UIKit의 UIViewController를 반환하고 Compose Multiplatform 코드를 포함하는 Kotlin 함수 MainViewController()를 생성합니다:
fun MainViewController(): UIViewController =
ComposeUIViewController {
Box(Modifier.fillMaxSize(), contentAlignment = Alignment.Center) {
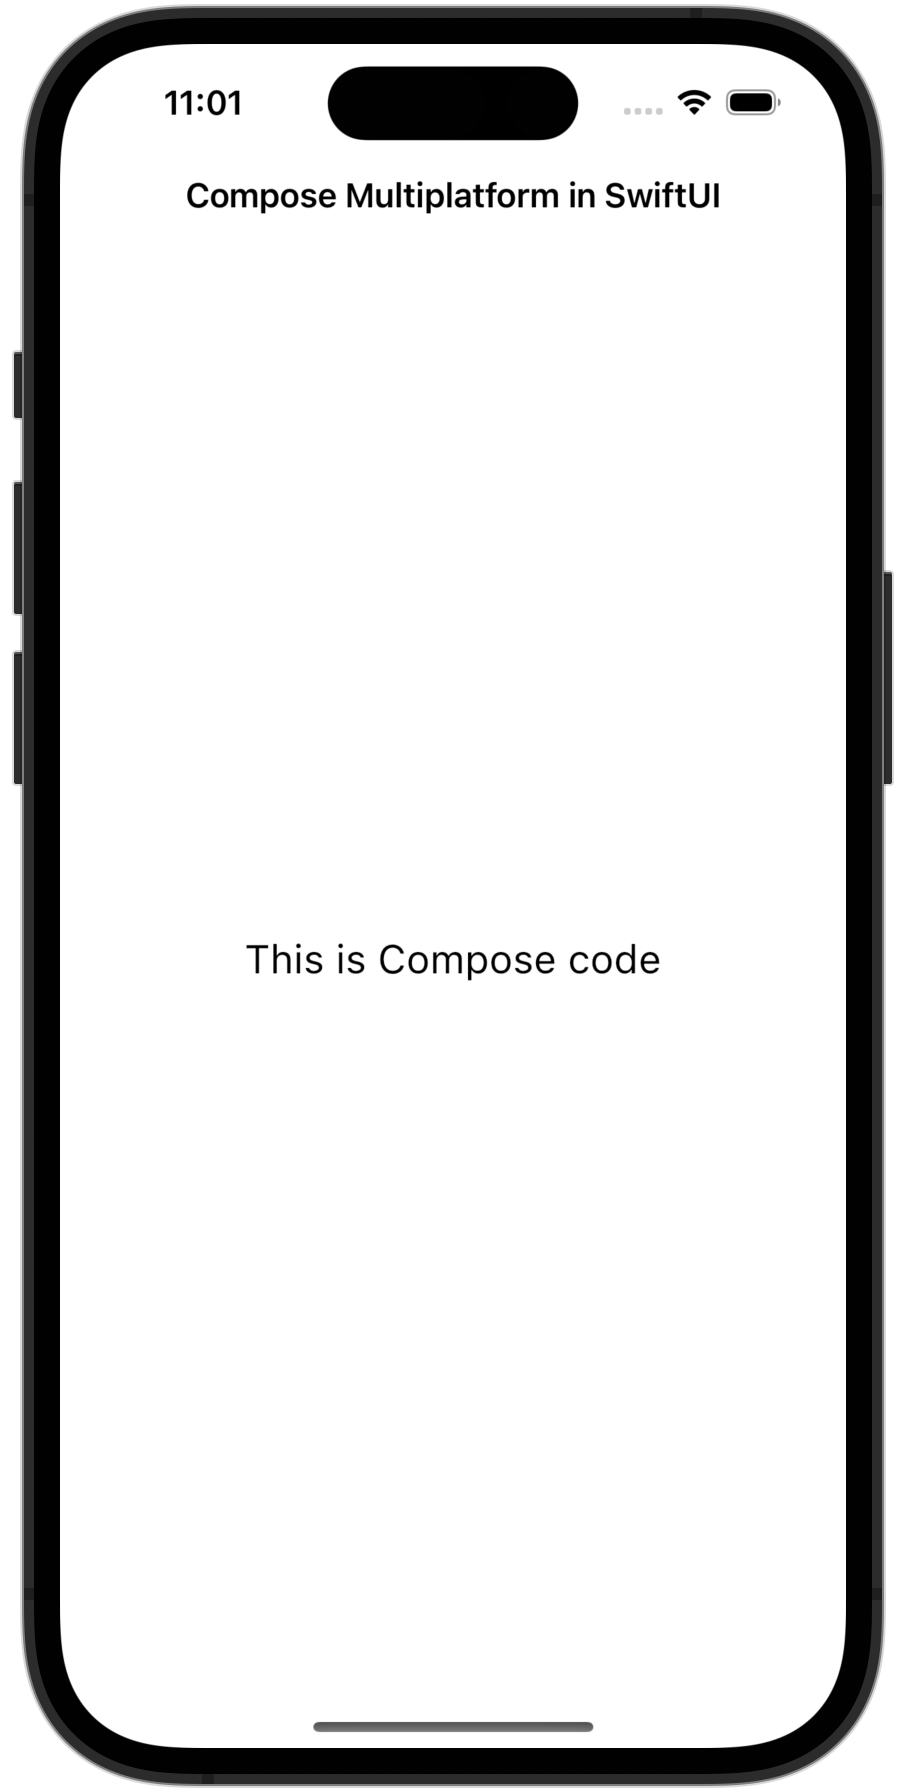
Text("This is Compose code", fontSize = 20.sp)
}
}ComposeUIViewController()는 컴포저블(composable) 함수를 content 인자로 받는 Compose Multiplatform 라이브러리 함수입니다. 이 방식으로 전달된 함수는 Text()와 같은 다른 컴포저블 함수를 호출할 수 있습니다.
Compose Multiplatform 렌더링을 위해서는 높은 주사율(high refresh rates)이 명시적으로 활성화되어야 합니다. 앱의
Info.plist파일에CADisableMinimumFrameDurationOnPhone키를 추가하세요. 이 키가 없으면 런타임에 앱이 충돌합니다.
다음으로, SwiftUI에서 Compose Multiplatform을 나타내는 구조체가 필요합니다. UIViewController 인스턴스를 SwiftUI 뷰로 변환하는 다음 구조체를 생성합니다:
struct ComposeViewController: UIViewControllerRepresentable {
    func makeUIViewController(context: Context) -> UIViewController {
        return Main_iosKt.MainViewController()
    }

    func updateUIViewController(_ uiViewController: UIViewController, context: Context) {
    }
}
이제 다른 SwiftUI 코드에서 ComposeView 구조체를 사용할 수 있습니다.
Main_iosKt.MainViewController는 생성된 이름입니다. Swift에서 Kotlin 코드에 액세스하는 방법에 대한 자세한 내용은 Swift/Objective-C와의 상호 운용성 페이지에서 확인할 수 있습니다.
결과적으로 애플리케이션은 다음과 같은 모습이 됩니다:
이 ComposeView를 모든 SwiftUI 뷰 계층 구조에서 사용할 수 있으며, SwiftUI 코드 내에서 크기를 제어할 수 있습니다.
기존 애플리케이션에 Compose Multiplatform을 임베드하려는 경우, SwiftUI가 사용되는 곳 어디에서나 ComposeView 구조체를 사용하세요. 예제는 샘플 프로젝트를 참조하세요.
Compose Multiplatform 내에서 SwiftUI 사용하기
Compose Multiplatform 내에서 SwiftUI를 사용하려면, 중간 단계의 UIViewController에 Swift 코드를 추가하세요. 현재는 Kotlin에서 SwiftUI 구조체를 직접 작성할 수 없습니다. 대신 Swift에서 작성하여 Kotlin 함수로 전달해야 합니다.
시작하려면, ComposeUIViewController 컴포넌트를 생성하기 위한 진입점 함수에 인자를 추가합니다:
@OptIn(ExperimentalForeignApi::class)
fun ComposeEntryPointWithUIViewController(
createUIViewController: () -> UIViewController
): UIViewController =
ComposeUIViewController {
Column(
Modifier
.fillMaxSize()
.windowInsetsPadding(WindowInsets.systemBars),
horizontalAlignment = Alignment.CenterHorizontally
) {
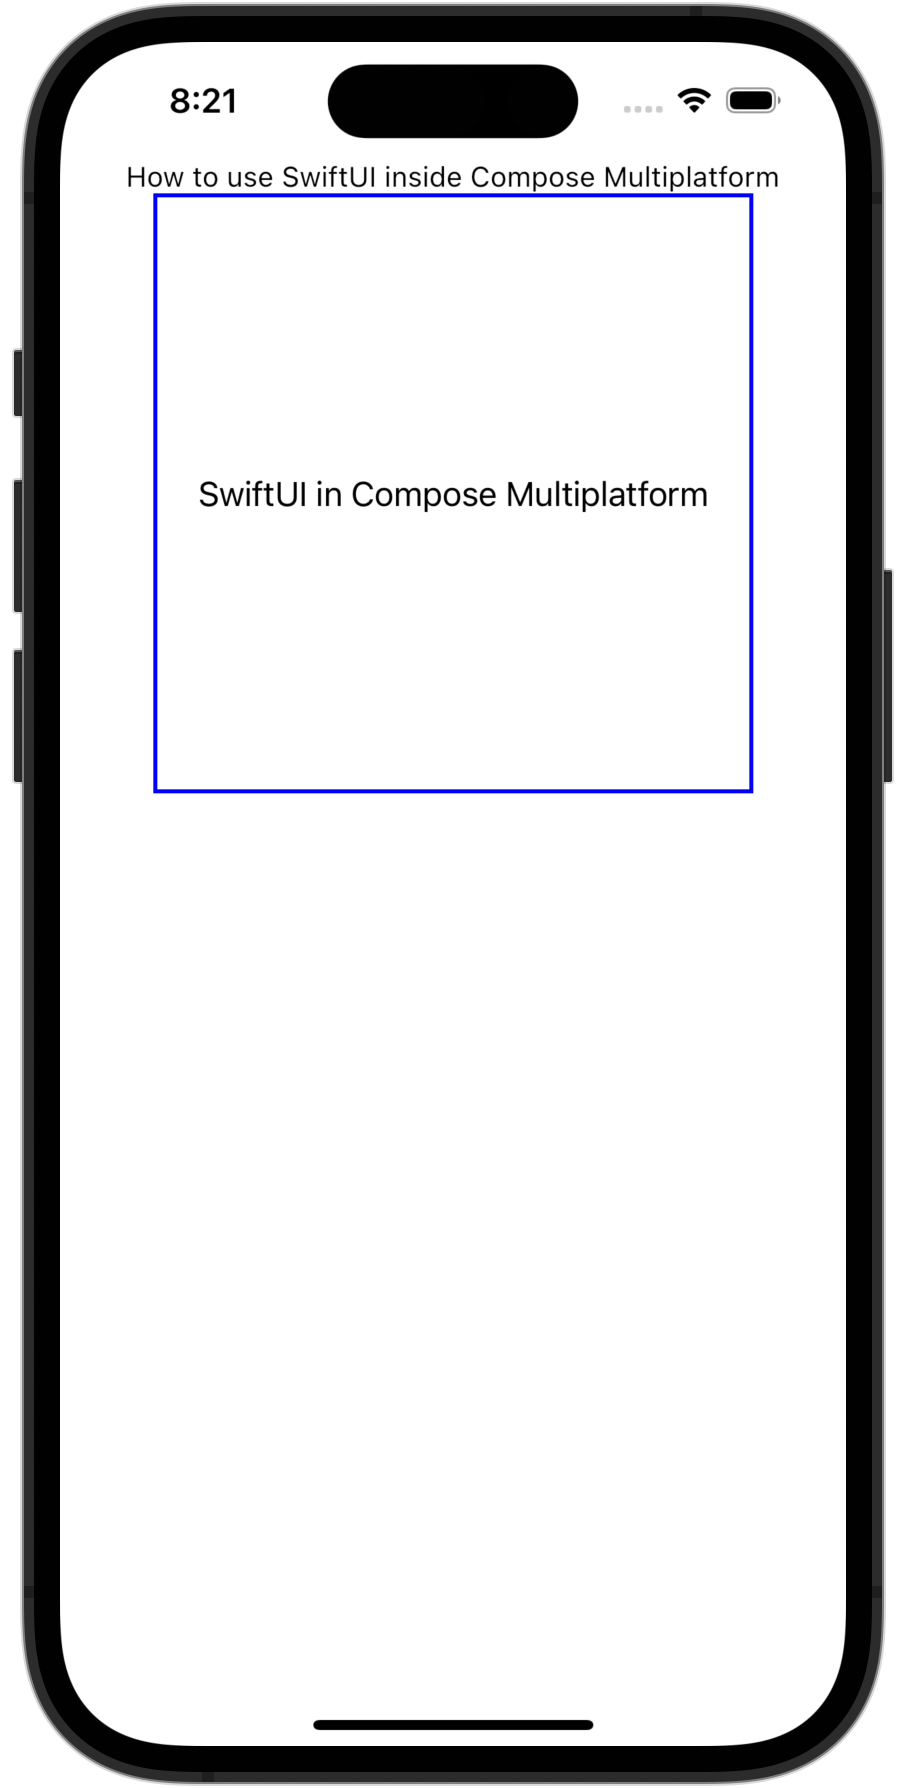
Text("How to use SwiftUI inside Compose Multiplatform")
UIKitViewController(
factory = createUIViewController,
modifier = Modifier.size(300.dp).border(2.dp, Color.Blue),
)
}
}Swift 코드에서 createUIViewController를 진입점 함수로 전달합니다. SwiftUI 뷰를 래핑하기 위해 UIHostingController 인스턴스를 사용할 수 있습니다:
Main_iosKt.ComposeEntryPointWithUIViewController(createUIViewController: { () -> UIViewController in
    let swiftUIView = VStack {
        Text("SwiftUI in Compose Multiplatform")
    }
    return UIHostingController(rootView: swiftUIView)
})
결과적으로 애플리케이션은 다음과 같은 모습이 됩니다:
이 예제에 대한 코드는 샘플 프로젝트에서 확인해 보세요.
지도 뷰 (Map view)
SwiftUI의 Map 컴포넌트를 사용하여 Compose Multiplatform에서 지도 뷰를 구현할 수 있습니다. 이를 통해 애플리케이션에서 상호 작용이 완벽하게 가능한 SwiftUI 지도를 표시할 수 있습니다.
Kotlin 진입점 함수와 동일한 방식을 사용하여, Swift에서 UIHostingController를 통해 Map 뷰를 래핑하는 UIViewController를 전달합니다:
import SwiftUI
import MapKit

Main_iosKt.ComposeEntryPointWithUIViewController(createUIViewController: {
    let region = Binding.constant(
        MKCoordinateRegion(
            center: CLLocationCoordinate2D(latitude: 37.7749, longitude: -122.4194),
            span: MKCoordinateSpan(latitudeDelta: 0.05, longitudeDelta: 0.05)
        )
    )

    let mapView = Map(coordinateRegion: region)
    return UIHostingController(rootView: mapView)
})
이제 더 발전된 예제를 살펴보겠습니다. 이 코드는 SwiftUI 지도에 커스텀 어노테이션(annotation)을 추가하고 Swift에서 뷰 상태를 업데이트할 수 있게 해줍니다:
import SwiftUI
import MapKit

struct AnnotatedMapView: View {
    // 지도 영역 상태 관리
    @State private var region = MKCoordinateRegion(
        center: CLLocationCoordinate2D(latitude: 51.5074, longitude: -0.1278),
        span: MKCoordinateSpan(latitudeDelta: 0.1, longitudeDelta: 0.1)
    )
    // 커스텀 어노테이션과 함께 지도 표시
    var body: some View {
        Map(coordinateRegion: $region, annotationItems: [Landmark.example]) { landmark in
            MapMarker(coordinate: landmark.coordinate, tint: .blue)
        }
    }
}

struct Landmark: Identifiable {
    let id = UUID()
    let name: String
    let coordinate: CLLocationCoordinate2D

    static let example = Landmark(
        name: "Big Ben",
        coordinate: CLLocationCoordinate2D(latitude: 51.5007, longitude: -0.1246)
    )
}
그런 다음 이 어노테이션이 추가된 지도를 UIHostingController로 래핑하여 Compose Multiplatform 코드로 전달할 수 있습니다:
Main_iosKt.ComposeEntryPointWithUIViewController(createUIViewController: {
    return UIHostingController(rootView: AnnotatedMapView())
})AnnotatedMapView는 다음 작업을 수행합니다:
- SwiftUI
Map뷰를 정의하고AnnotatedMapView라는 커스텀 뷰 내에 임베드합니다. @State및MKCoordinateRegion을 사용하여 지도 위치에 대한 내부 상태를 관리함으로써, Compose Multiplatform이 상호 작용 가능하고 상태를 인식하는 지도를 표시할 수 있도록 합니다.- SwiftUI의 어노테이션에 필요한
Identifiable을 준수하는 정적Landmark모델을 사용하여 지도에MapMarker를 표시합니다. annotationItems를 사용하여 지도 위에 커스텀 마커를 선언적으로 배치합니다.- SwiftUI 컴포넌트를
UIHostingController내부에 래핑하여 Compose Multiplatform에UIViewController로 전달합니다.
카메라 뷰 (Camera view)
SwiftUI 및 UIKit의 UIImagePickerController를 SwiftUI 호환 컴포넌트로 래핑하여 Compose Multiplatform에서 카메라 뷰를 구현할 수 있습니다. 이를 통해 애플리케이션에서 시스템 카메라를 실행하고 사진을 촬영할 수 있습니다.
동일한 Kotlin 진입점 함수에 대해, Swift에서 UIImagePickerController를 사용하여 기본 CameraView를 정의하고 UIHostingController를 사용하여 임베드합니다:
Main_iosKt.ComposeEntryPointWithUIViewController(createUIViewController: {
    return UIHostingController(rootView: CameraView { image in
        // 여기서 촬영된 이미지 처리
    })
})
이를 작동시키기 위해 다음과 같이 CameraView를 정의합니다:
import SwiftUI
import UIKit

struct CameraView: UIViewControllerRepresentable {
    let imageHandler: (UIImage) -> Void
    @Environment(\.presentationMode) private var presentationMode

    init(imageHandler: @escaping (UIImage) -> Void) {
        self.imageHandler = imageHandler
    }

    func makeCoordinator() -> Coordinator {
        Coordinator(self)
    }

    func makeUIViewController(context: Context) -> UIImagePickerController {
        let picker = UIImagePickerController()
        picker.sourceType = .camera
        picker.delegate = context.coordinator
        return picker
    }

    func updateUIViewController(_ uiViewController: UIImagePickerController, context: Context) {}

    class Coordinator: NSObject, UINavigationControllerDelegate, UIImagePickerControllerDelegate {
        let parent: CameraView

        init(_ parent: CameraView) {
            self.parent = parent
        }

        func imagePickerController(_ picker: UIImagePickerController,
                                   didFinishPickingMediaWithInfo info: [UIImagePickerController.InfoKey : Any]) {
            if let image = info[.originalImage] as? UIImage {
                parent.imageHandler(image)
            }
            parent.presentationMode.wrappedValue.dismiss()
        }

        func imagePickerControllerDidCancel(_ picker: UIImagePickerController) {
            parent.presentationMode.wrappedValue.dismiss()
        }
    }
}
이제 더 발전된 예제를 살펴보겠습니다. 이 코드는 카메라 뷰를 제시하고 동일한 SwiftUI 뷰에서 촬영된 이미지의 썸네일을 표시합니다:
import SwiftUI
import UIKit

struct CameraPreview: View {
    // 카메라 시트 표시 여부 제어
    @State private var showCamera = false
    // 촬영된 이미지 저장
    @State private var capturedImage: UIImage?

    var body: some View {
        VStack {
            if let image = capturedImage {
                // 촬영된 이미지 표시
                Image(uiImage: image)
                    .resizable()
                    .scaledToFit()
                    .frame(height: 200)
            } else {
                // 이미지가 촬영되지 않았을 때 플레이스홀더 텍스트 표시
                Text("No image captured")
            }

            // 카메라를 여는 버튼 추가
            Button("Open Camera") {
                showCamera = true
            }
            // CameraView를 모달 시트로 제시
            .sheet(isPresented: $showCamera) {
                CameraView { image in
                    capturedImage = image
                }
            }
        }
    }
}
CameraPreview 뷰는 다음 작업을 수행합니다:
- 사용자가 버튼을 탭할 때 모달
.sheet에서CameraView를 제시합니다. - 촬영된 이미지를 저장하고 표시하기 위해
@State프로퍼티 래퍼를 사용합니다. - 사진 미리보기를 위해 SwiftUI의 네이티브
Image뷰를 임베드합니다. - 이전과 동일한
UIViewControllerRepresentable-basedCameraView를 재사용하지만, SwiftUI 상태 시스템에 더 깊이 통합합니다.
실제 기기에서 테스트하려면 앱의
Info.plist파일에NSCameraUsageDescription키를 추가해야 합니다. 이 키가 없으면 런타임에 앱이 충돌합니다.
웹 뷰 (Web view)
UIKit의 WKWebView 컴포넌트를 UIViewRepresentable로 래핑하여 Compose Multiplatform에서 웹 뷰를 구현할 수 있습니다. 이를 통해 네이티브 렌더링으로 임베드된 웹 콘텐츠를 표시할 수 있습니다.
동일한 Kotlin 진입점 함수에 대해, Swift에서 UIHostingController를 사용하여 임베드된 기본 WebView를 정의합니다:
Main_iosKt.ComposeEntryPointWithUIViewController(createUIViewController: {
    let url = URL(string: "https://www.jetbrains.com")!
    return UIHostingController(rootView: WebView(url: url))
})
이제 더 발전된 예제를 살펴보겠습니다. 이 코드는 웹 뷰에 내비게이션 추적 및 로딩 상태 표시를 추가합니다:
import SwiftUI
import UIKit
import WebKit

struct AdvancedWebView: UIViewRepresentable {
    let url: URL
    @Binding var isLoading: Bool
    @Binding var currentURL: String

    // 내비게이션 델리게이트와 함께 WKWebView 생성
    func makeUIView(context: Context) -> WKWebView {
        let webView = WKWebView()
        webView.navigationDelegate = context.coordinator
        webView.load(URLRequest(url: url))
        return webView
    }

    func updateUIView(_ uiView: WKWebView, context: Context) {}

    // 웹 내비게이션 이벤트를 처리할 코디네이터 생성
    func makeCoordinator() -> Coordinator {
        Coordinator(isLoading: $isLoading, currentURL: $currentURL)
    }

    class Coordinator: NSObject, WKNavigationDelegate {
        @Binding var isLoading: Bool
        @Binding var currentURL: String

        init(isLoading: Binding<Bool>, currentURL: Binding<String>) {
            _isLoading = isLoading
            _currentURL = currentURL
        }

        func webView(_ webView: WKWebView, didStartProvisionalNavigation navigation: WKNavigation?) {
            isLoading = true
        }

        // URL을 업데이트하고 로딩이 완료되었음을 알림
        func webView(_ webView: WKWebView, didFinish navigation: WKNavigation?) {
            isLoading = false
            currentURL = webView.url?.absoluteString ?? ""
        }
    }
}
다음과 같이 SwiftUI 뷰에서 사용하세요:
struct WebViewContainer: View {
    // 웹 뷰의 로딩 상태 추적
    @State private var isLoading = false
    // 현재 표시된 URL 추적
    @State private var currentURL = ""

    var body: some View {
        VStack {
            // 로딩 중일 때 로딩 인디케이터 표시
            if isLoading {
                ProgressView()
            }
            // 현재 URL 표시
            Text("URL: \(currentURL)")
                .font(.caption)
                .lineLimit(1)
                .truncationMode(.middle)

            // 고급 웹 뷰 임베드
            AdvancedWebView(
                url: URL(string: "https://www.jetbrains.com")!,
                isLoading: $isLoading,
                currentURL: $currentURL
            )
        }
    }
}AdvancedWebView와 WebViewContainer는 다음 작업을 수행합니다:
- 로딩 진행 상황 및 URL 변경을 추적하기 위해 커스텀 내비게이션 델리게이트가 있는
WKWebView를 생성합니다. - 내비게이션 이벤트에 따라 UI를 동적으로 업데이트하기 위해 SwiftUI의
@State바인딩을 사용합니다. - 페이지가 로딩되는 동안
ProgressView스피너를 표시합니다. Text컴포넌트를 사용하여 뷰 상단에 현재 URL을 표시합니다.UIHostingController사용하여 이 컴포넌트를 Compose UI에 통합합니다.
다음 단계
Compose Multiplatform이 UIKit 프레임워크와 통합되는 방식에 대해서도 알아볼 수 있습니다.