修改專案
本教學使用 IntelliJ IDEA,但您也可以在 Android Studio 中進行 —— 這兩款 IDE 共享相同的核心功能與 Kotlin Multiplatform 支援。
這是使用共享邏輯與 UI 建立 Compose Multiplatform 應用程式教學的第三部分。在繼續之前,請確保您已完成先前的步驟。
![]()
讓我們修改由 Kotlin Multiplatform 精靈產生的程式碼,並在 App composable 中顯示目前日期。為此,您將向專案新增一個新的相依性、強化 UI,並在各個平台上重新執行應用程式。
新增相依性
您可以使用平台特定(platform-specific)的程式庫以及 expected 與 actual 宣告來取得日期。但我們建議僅在沒有可用的 Kotlin Multiplatform 程式庫時才使用此方法。在這種情況下,您可以依賴 kotlinx-datetime 程式庫。
您可以在 klibs.io 上探索適用於目標平台的 Kotlin Multiplatform 程式庫,這是 JetBrains 推出的一項用於探索多平台程式庫的實驗性搜尋服務。
要使用 kotlinx-datetime 程式庫:
開啟
gradle/libs.versions.toml檔案,並將kotlinx-datetime相依性新增至版本目錄:toml[versions] kotlinx-datetime = "0.8.0" [libraries] kotlinx-datetime = { module = "org.jetbrains.kotlinx:kotlinx-datetime", version.ref = "kotlinx-datetime" }開啟
shared/build.gradle.kts檔案,並在設定通用程式碼原始碼集(common code source set)的部分新增對該程式庫項目的參照:kotlinkotlin { // ... sourceSets { // ... commonMain.dependencies { // ... implementation(libs.kotlinx.datetime) } } }對於 Web 目標,時區支援需要
js-joda程式庫。在webApp/build.gradle.kts檔案中新增對js-jodanpm 套件的參照:kotlinkotlin { // ... sourceSets { // ... commonMain.dependencies { // ... implementation(npm("@js-joda/timezone", "2.25.1")) } } }將相依性新增至
webMain原始碼集可讓該程式庫同時適用於wasmJs與js目標。新增相依性後,接受 IDE 的建議以同步 Gradle 配置,或按兩下 Shift 鍵 並執行 Sync Project with Gradle Files 指令。
在 終端 工具視窗中,執行以下指令以確保
yarn.lock檔案已更新為最新的相依性版本:shell./gradlew kotlinUpgradeYarnLock kotlinWasmUpgradeYarnLock在
webApp/src/webMain/kotlin/.../main.kt檔案中,使用@JsModule註解來匯入js-jodanpm 套件:kotlinimport androidx.compose.ui.ExperimentalComposeUiApi import androidx.compose.ui.window.ComposeViewport import kotlin.js.ExperimentalWasmJsInterop import kotlin.js.JsModule @OptIn(ExperimentalWasmJsInterop::class) @JsModule("@js-joda/timezone") external object JsJodaTimeZoneModule private val jsJodaTz = JsJodaTimeZoneModule @OptIn(ExperimentalComposeUiApi::class) fun main() { ComposeViewport { App() } }
將專案提交至版本控制時,請包含在
kotlin-js-store目錄中產生的yarn.lock檔案。這有助於確保在任何建置專案的地方都使用相同版本的 JavaScript 相依性。
強化使用者介面
開啟
shared/src/commonMain/kotlin/App.kt檔案,並在App()composable 之後新增以下函式,該函式會傳回包含目前日期的字串:kotlinfun todaysDate(): String { fun LocalDateTime.format() = toString().substringBefore('T') val now = Clock.System.now() val zone = TimeZone.currentSystemDefault() return now.toLocalDateTime(zone).format() }新增 IDE 建議的匯入。
請確保從
kotlin.time匯入Clock類別,而不是從kotlinx.datetime匯入。在同一檔案中,修改
App()composable 以包含呼叫此函式並顯示結果的Text()composable:kotlin@Composable @Preview fun App() { MaterialTheme { var showContent by remember { mutableStateOf(false) } val greeting = remember { Greeting().greet() } Column( modifier = Modifier .safeContentPadding() .fillMaxSize(), horizontalAlignment = Alignment.CenterHorizontally ) { Text( text = "Today's date is ${todaysDate()}", modifier = Modifier.padding(20.dp), fontSize = 24.sp, textAlign = TextAlign.Center ) Button(onClick = { showContent = !showContent }) { Text("Click me!") } AnimatedVisibility(showContent) { Column(Modifier.fillMaxWidth(), horizontalAlignment = Alignment.CenterHorizontally) { Image(painterResource(Res.drawable.compose_multiplatform), null) Text("Compose: $greeting") } } } } }依照 IDE 的建議匯入缺失的相依性。

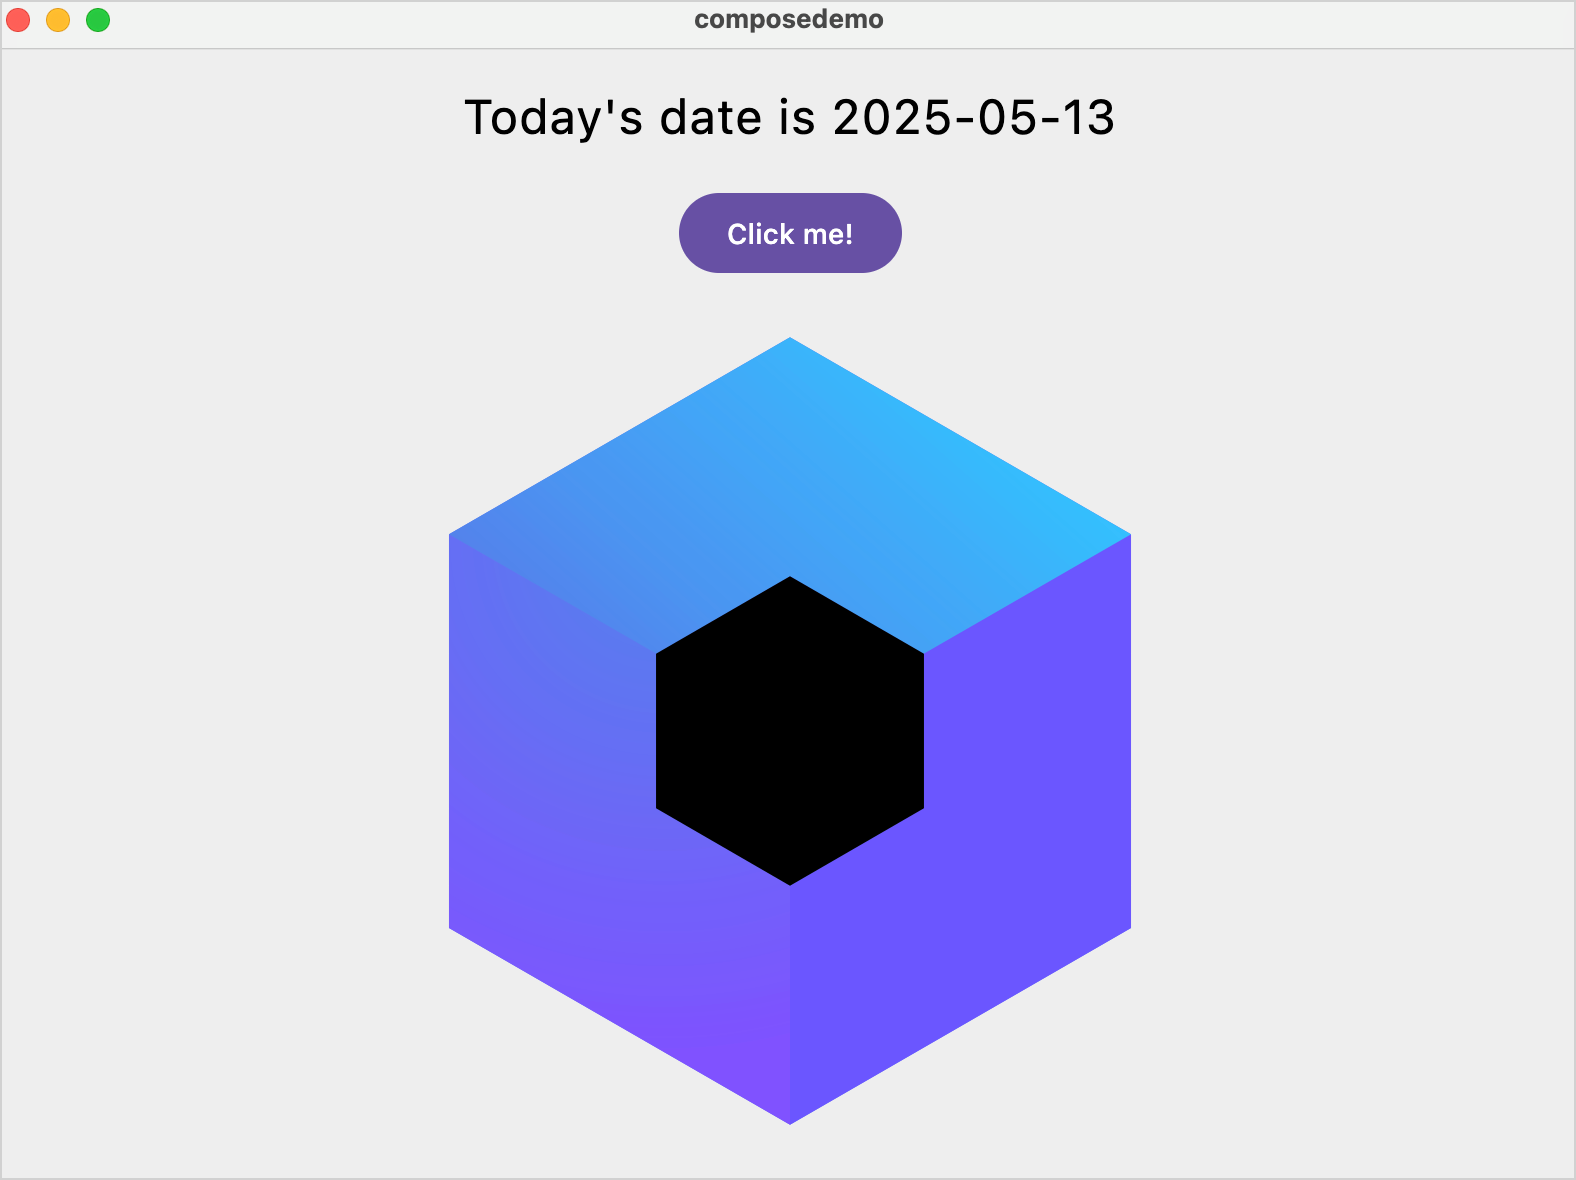
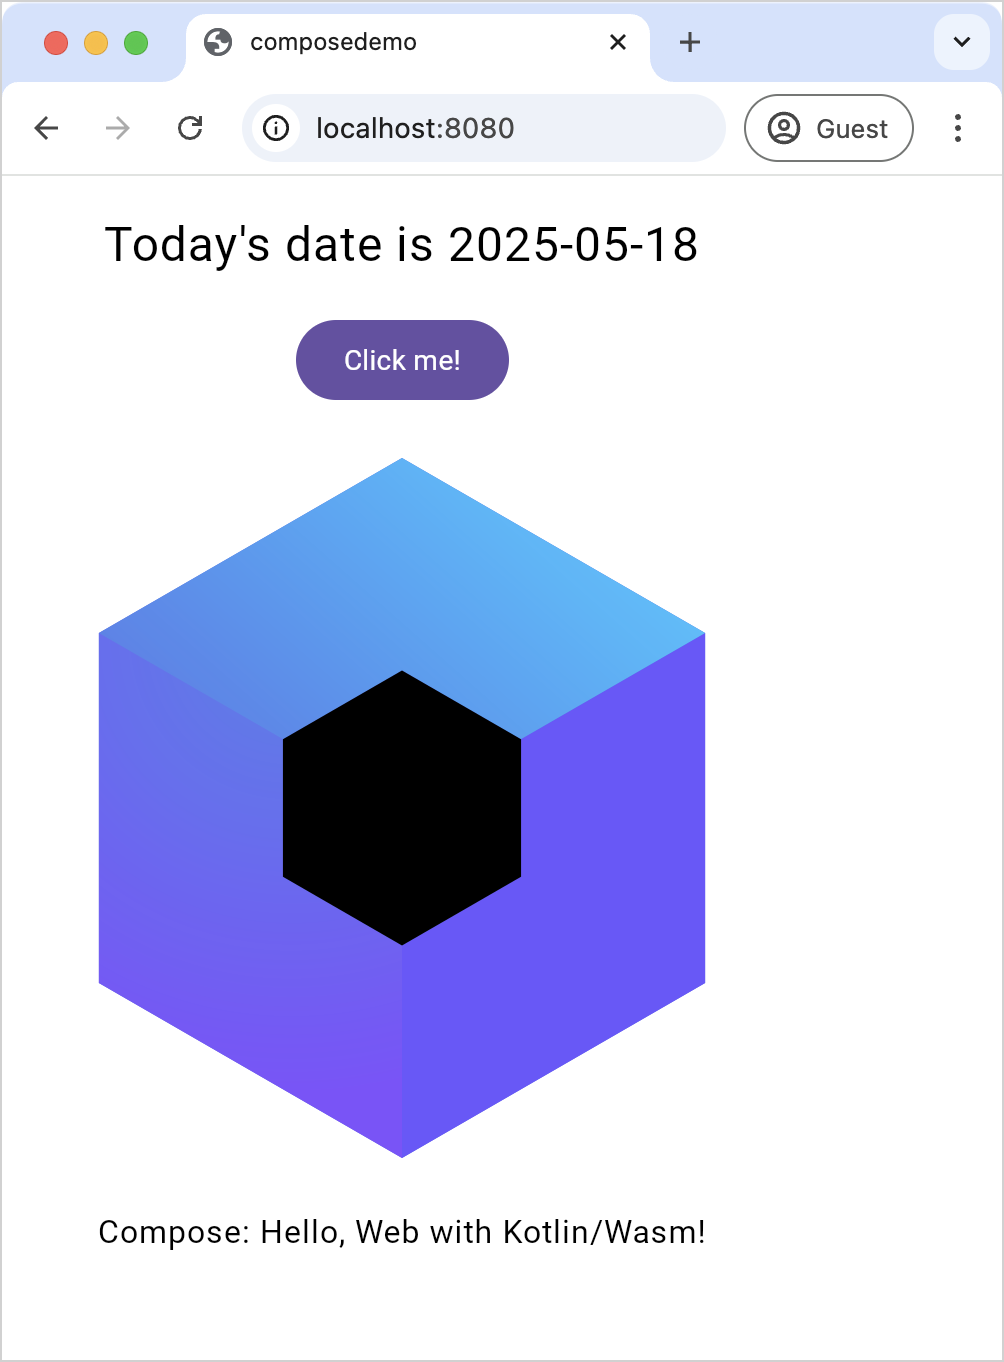
重新執行應用程式
您現在可以針對 Android、iOS、桌面版和 Web 使用相同的 运行配置 重新執行應用程式:
下一步
在教學的下一部分中,您將學習新的 Compose Multiplatform 概念,並從頭開始建立您自己的應用程式。
取得協助
- Kotlin Slack。取得 邀請 並加入 #multiplatform 頻道。
- Kotlin 問題追蹤器。回報新問題。